Ở bài trước, mình đã hướng dẫn các bạn tạo 1 module là My_Contacts kế thừa từ module có sẵn trên Odoo là Contacts. Bây giờ mình sẽ tạo 1 button trên trang quản lý contacts của module Contacts và link nó đến trang My_Contacts mà mình vừa tạo.
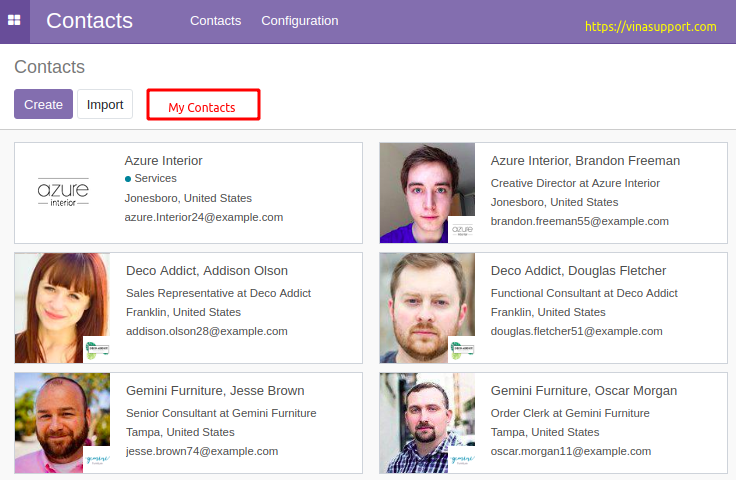
Vị trí thêm button sẽ là giữa nút Create và Import của trang Contacts (Tree View Header)
Bước 1: Tạo 1 file xml ở thư mục views/my_contact_view.xml có nội dung như sau:
<odoo>
  <data>
    <record model="ir.actions.act_window" id="my_contacts_action_window">
      <field name="name">My Contacts Window</field>
      <field name="res_model">res.partner</field>
      <field name="type">ir.actions.act_window</field>
      <field name="view_type">form</field>
      <field name="view_mode">kanban,tree,form,activity</field>
    </record>
  </data>
</odoo>
Nó định nghĩa 1 action có id là: my_contacts_action_window
Bước 2: Tạo 1 file static/src/xml/tree_view_button.xml để hiển thị button có tên là “My Contacts”
<?xml version="1.0" encoding="UTF-8"?>
    <template id="my_contacts_template" xml:space="preserve">
          <t t-extend="KanbanView.buttons">
            <t t-jquery="button" t-operation="after">
                <button t-if="widget.modelName == 'res.partner'" class="btn btn-primary my-contacts-button" type="button">My Contacts</button>
            </t>
          </t>
    </template>
Bước 3: Tạo 1 file static/src/js/tree_view_button.js để lắng nghe sự kiện click vào button “My Contacts”
odoo.define('my_contacts.menu.tree', function(require) {
    "use strict";

    var KanbanController = require("web.KanbanController");
    var ListController = require("web.ListController");
    var includeDict = {
        renderButtons: function () {
            this._super.apply(this, arguments);
            var self = this;
            self.$buttons.on('click', '.my-contacts-button', function () {
                self._rpc({
                    route: '/web/action/load',
                    params: {
                        action_id: 'my_contacts.my_contacts_action_window',
                    },
                })
                .then(function(r) {
                    console.log(r);
                    return self.do_action(r);
                });
            });
        }
    };

    KanbanController.include(includeDict);
    ListController.include(includeDict);
});
Bước 4: Tạo 1 file views/tree_view_asset.xml để load file tree_view_button.js mà ta vừa tạo
<?xml version="1.0" encoding="utf-8"?>
<odoo>
      <data>
            <template id="assets_backend" name="tree view menu" inherit_id="web.assets_backend">
                  <xpath expr="." position="inside">
                        <script type="text/javascript" src="my_contacts/static/src/js/tree_view_button.js"></script>
                  </xpath>
            </template>
      </data>
</odoo>
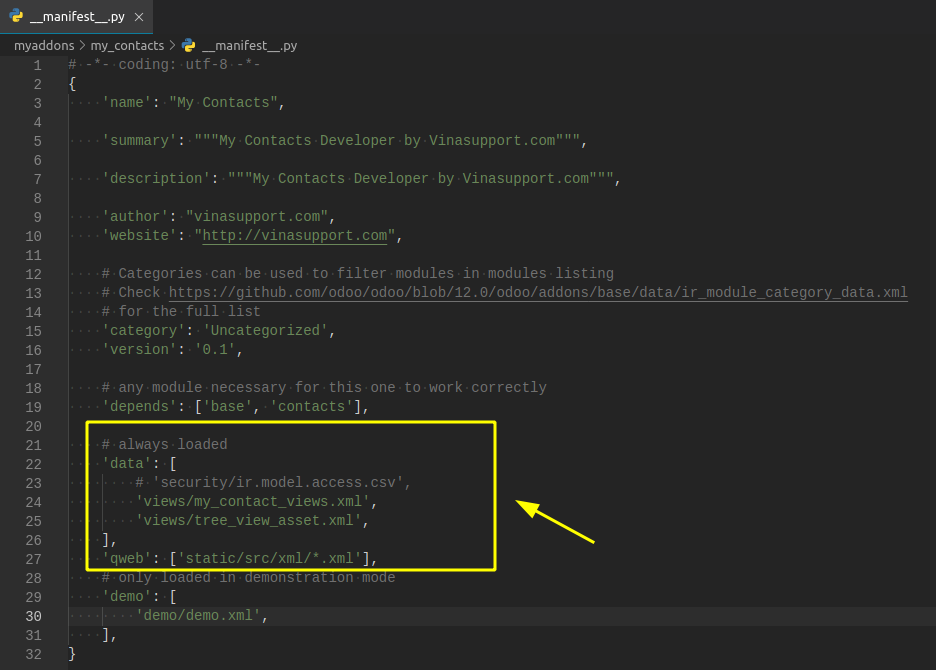
Bước 5: Load các file xml này vào file __manifest__.py
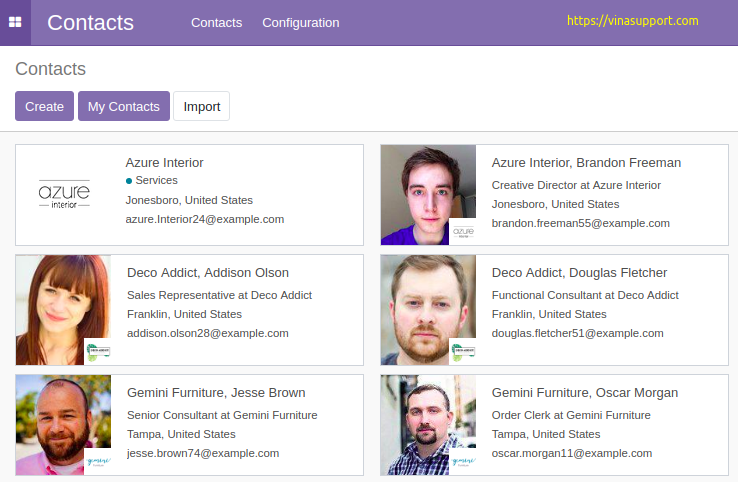
Kết quả:
Nguồn: vinasupport.com
![[Odoo] Xây dựng Odoo Module kế thừa từ 1 Module có sẵn](https://vinasupport.com/uploads/2019/07/Cau-Truc-Thu-Muc-Cua-Odoo-Module-My-Contacts-300x250.png)
![[Odoo] Config log và đường dẫn file log](https://vinasupport.com/uploads/2019/06/odoo-erp-software-300x250.png)
![[Odoo] Tạo Cron Job trong Odoo Module](https://vinasupport.com/uploads/2019/12/Tao-Cron-Job-Odoo-Module-Cau-Truc-Thu-Muc-300x250.png)
![[Python nâng cao] Kỹ thuật Monkey Patching trong Python](https://vinasupport.com/uploads/2024/03/Ky-Thuat-Monkey-Patching-Python-300x250.png)
![[Odoo] Thực thi câu lệnh Raw SQL Query trên Odoo](https://vinasupport.com/uploads/2023/03/Odoo-thuc-Thi-Cau-Lenh-Raw-Query-Tren-Odoo-300x250.png)