SonarQube là công cụ phân tích và kiểm tra chất lượng code, nó giúp cho việc phát triển các dự án đảm bảo được về mặt thời gian cũng như chất lượng. Bài viết này, VinaSupport sẽ hướng dẫn các bạn các bước cài đặt SonarQube trên hệ điều hành Linux: Redhat Enterprise/ Centos 7.
![]()
Để hiểu về SonarQube các bạn vui lòng tham khảo bài viết: Giới thiệu SonarQue mà mình viết trước đây.
1. Cấu hình tối thiểu để cài đặt SonarQube
- Tối thiểu 2GB RAM
- Dung lượng ổ cứng phụ thuộc vào khối lượng code mà bạn sử dụng SonarQube phân tích
- Ổ cứng có I/O tốt vì phải đọc ghi liên tục.
Nếu các bạn chỉ cài đặt dành cho việc học tập, test, thì cài đặt trên máy tính cá nhân với máy ảo là đủ. Tuy nhiên khi triển khai trên môi trường production thì nên sử dụng Server của nhà cung cấp uy tín như Vultr chẳng hạn. Chỉ với $10/tháng, các bạn sẽ có 2GB RAM/ 40GB lưu trữ SSD… tương đối khớp với cấu hình tối thiểu cài đặt SonarQube. Và Vultr hiện đang có rất nhiều chương trình khuyến mại mà mình đang tổng hợp ở đây.
2. Cài đặt SonarQube
2.1. Cài đặt EPEL Repository
Để cài đặt EPEL Repository các bạn thực hiện các command sau, sau đó reboot lại máy chủ.
$ sudo yum install epel-release
$ sudo yum update
$ sudo reboot
2.2. Cài đặt Open JDK 8
Vì Sonar chạy bằng Java, nên chúng ta tiến hành cài đặt Open JDK 8 bằng command sau:
$ sudo yum install java-1.8.0-openjdk.x86_64
Kiểm tra lại bằng cách check version của Java

2.3. Cài đặt PostgreSQL 10
SonarQube hiện đang hỗ trợ các hệ quản trị CSDL như Oracle, MSSQL Server, MySQL, PostgreSQL… Trong bài viết này mình cài đặt PostgreSQL 10 làm database cho SonarQube.
Thêm PostgreSQL 10 Repository
$ rpm -Uvh https://yum.postgresql.org/10/redhat/rhel-7-x86_64/pgdg-centos10-10-2.noarch.rpm
Chạy lệnh cài đặt PostgreSQL 10
$ yum install postgresql10-server postgresql10
Khởi tạo database đầu tiên
$ /usr/pgsql-10/bin/postgresql-10-setup initdb
Sử dụng xác thực MD5 cho tài khoản quản lý PostgreSQL
$ vi /var/lib/pgsql/10/data/pg_hba.conf
Sửa nội dung của file pg_hba.conf như sau:
# TYPE  DATABASE        USER            ADDRESS                 METHOD

# "local" is for Unix domain socket connections only
local   all             all                                     peer
# IPv4 local connections:
host    all             all             127.0.0.1/32            ident
# IPv6 local connections:
host    all             all             ::1/128                 ident
Thành:
# TYPE  DATABASE        USER            ADDRESS                 METHOD

# "local" is for Unix domain socket connections only
local   all             all                                     peer
# IPv4 local connections:
host    all             all             127.0.0.1/32            md5
# IPv6 local connections:
host    all             all             ::1/128                 md5
Sau đó khởi động và cấu hình PostgreSQL chạy khi boot hệ điều hành.
$ systemctl start postgresql-10.service
$ systemctl enable postgresql-10.service
Thay đổi mật khẩu của User postgres (User mặc định )
$ su - postgres -c "psql"

psql (10.0)
Type "help" for help.
postgres=# \password postgres
Enter new password:
Enter it again:
postgres=# \q
Tạo user và database mới cho SonarQube
$ su - postgres
-bash-4.2$ createuser sonar
-bash-4.2$ psql
postgres=# ALTER USER sonar WITH ENCRYPTED password 'sonar';
ALTER ROLE
postgres=# CREATE DATABASE sonar OWNER sonar;
CREATE DATABASE
postgres=# \q
2.4. Download, cài đặt và cấu hình SonarQube
Link để download SonarQube: https://www.sonarqube.org/downloads/
Các bạn download sonarqube và giải nén tới thư mục /opt trên Linux
$ wget https://sonarsource.bintray.com/Distribution/sonarqube/sonarqube-7.1.zip
$ unzip sonarqube-7.1.zip -d /opt/
$ mv /opt/sonarqube-7.1/ /opt/sonarqube
Để kết nối tới PostgreSQL Database, sửa file config sonar.properties của SonarQube
$ vi /opt/sonarqube/conf/sonar.properties
Xóa comment ở 3 dong bên dưới và thêm PostgreSQL user và password mà bạn đã tạo ở phia trên.
sonar.jdbc.username=sonar
sonar.jdbc.password=sonar
....
sonar.jdbc.url=jdbc:postgresql://localhost/sonar
2.5. Cấu hình dịch vụ cho SonarQube
Tạo startup script, để khởi động cùng hệ điều hành
$ vi /etc/init.d/sonar
Thêm nội dung sau:
#!/bin/sh
#
# rc file for SonarQube
#
# chkconfig: 345 96 10
# description: SonarQube system (www.sonarsource.org - vinasupport.com)
#
### BEGIN INIT INFO
# Provides: sonar
# Required-Start: $network
# Required-Stop: $network
# Default-Start: 3 4 5
# Default-Stop: 0 1 2 6
# Short-Description: SonarQube system (www.sonarsource.org)
# Description: SonarQube system (www.sonarsource.org)
### END INIT INFO

/usr/bin/sonar $*
Cấu hình dịch vụ SonarQube để chạy khi HDH khởi động
$ sudo ln -s /opt/sonarqube/bin/linux-x86-64/sonar.sh /usr/bin/sonar
$ sudo chmod 755 /etc/init.d/sonar
$ sudo chkconfig --add sonar
Cấu hình firewall để mở cổng 9000 trên Linux cho SonarQube
$ sudo firewall-cmd --zone=public --permanent --add-port=9000/tcp
$ sudo firewall-cmd --reload
Disable SELinux
$ sudo setenforce 0
Vì SonarQube bản mới nhất không cho phép chạy với quyền root vì vậy cần tạo 1 user để chạy SonarQube
$ groupadd sonar
$ useradd -c "Sonar System User" -d /opt/sonarqube -g sonar -s /bin/bash sonar
$ chown -R sonar:sonar /opt/sonarqube
Sửa file startup của SonarQube để set quyền run với user vừa tạo
$ sudo vi /opt/sonarqube/bin/linux-x86-64/sonar.sh
Bỏ comment dòng sau, và thêm user bạn đã tạo ở bên trên
RUN_AS_USER=sonar
Khởi động lại SonarQube
$ su - sonar -c '/etc/init.d/sonar start'
Starting SonarQube...
Started SonarQube.
Kiểm tra SonarQube đã hoạt động chưa?
$ su - sonar -c '/etc/init.d/sonar status'
SonarQube is running (12964).
Nếu cài đặt thành công, các bạn truy cập vào địa chỉ: http://ip-may-chu:9000. User và Password mặc định của SonaQube là admin
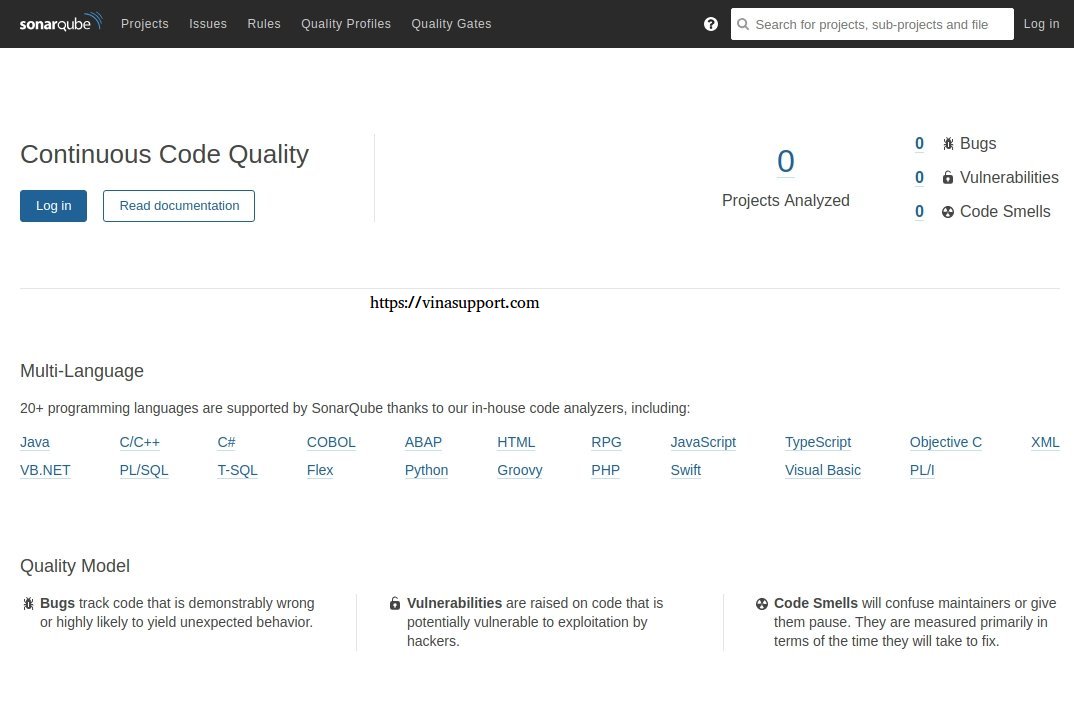
Nguồn: vinasupport.com