Trên Laravel có 2 công cụ được sử dụng để thao tác với database là Laravel Migration và Laravel Seed. Hôm nay, vinasupport.com sẽ giới thiệu và hướng dẫn các bạn sử dụng Laravel Migration.

Laravel Migration là gì?
Laravel Migration được hiểu là một công cụ quản lý version của database trên Laravel. Nó cho phép bạn định nghĩa và chia sẻ các thiết kế database. Bạn có thể tạo bảng, thêm cột, sửa xóa database tùy ý. Khi có 1 sự thay đổi vê CSDL bạn chỉ cần pull code về và chạy lệnh migrate, lập tức CSDL của bạn sẽ được đồng bộ thiết kế giữa các môi trường với nhau. Và khi nó có 1 vấn đề xảy ra khi migrate database thì nó cũng có cơ chế hỗ trợ các bạn rollback.
Hướng dẫn sử dụng Laravel Migration
1. Tạo một thiết kế bảng CSDL
Để tạo một file thiết kế bảng CSDL bạn sử dụng command
php artisan make:migration create_pages_table

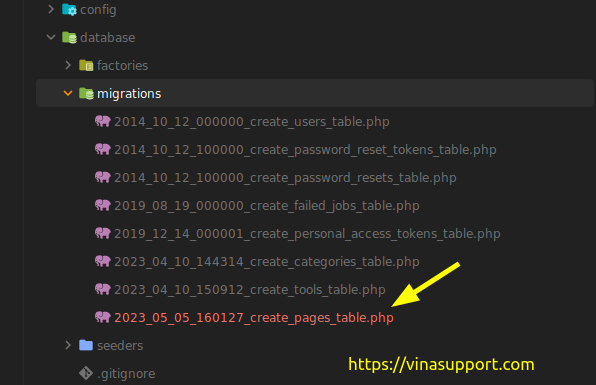
Kết quả nó sẽ tạo ra 1 file migration ở thư mục databases/migrations/

Nội dung file mặc định sẽ là:
<?php

use Illuminate\Database\Migrations\Migration;
use Illuminate\Database\Schema\Blueprint;
use Illuminate\Support\Facades\Schema;

return new class extends Migration
{
    /**
     * Run the migrations.
     */
    public function up(): void
    {
        Schema::create('pages', function (Blueprint $table) {
            $table->id();
            $table->timestamps();
        });
    }

    /**
     * Reverse the migrations.
     */
    public function down(): void
    {
        Schema::dropIfExists('pages');
    }
};
Bây giờ các bạn hãy sửa lại nó như thiết kế database mà các bạn mong muốn. VD:
<?php

use Illuminate\Database\Migrations\Migration;
use Illuminate\Database\Schema\Blueprint;
use Illuminate\Support\Facades\Schema;

return new class extends Migration
{
    /**
     * Run the migrations.
     */
    public function up(): void
    {
        Schema::create('pages', function (Blueprint $table) {
            $table->unsignedBigInteger('page_id', true)->unique();
            $table->string('page_title', 255);
            $table->string('page_name', 180)->unique();
            $table->unsignedInteger('page_views')->default(0);
            $table->string('thumbnail', 1000);
            $table->longText('page_content');
            $table->timestamp('created_at')->default(DB::raw('CURRENT_TIMESTAMP'));
            $table->timestamp('updated_at')->nullable();
            $table->softDeletes('deleted_at', 0);
        });
    }

    /**
     * Reverse the migrations.
     */
    public function down(): void
    {
        Schema::dropIfExists('pages');
    }
};
2. Chạy migrate Database sử dụng Laravel Migration
Sau khi thiết kế CSDL dữ liệu bằng mã code php như trên, tiếp theo bạn cần là kết nối CSDL trong file .env của Laravel
DB_CONNECTION=mysql
DB_HOST=127.0.0.1
DB_PORT=3306
DB_DATABASE=webtools
DB_USERNAME=root
DB_PASSWORD=
Sau đó chạy lệnh migrate database
php artisan migrate

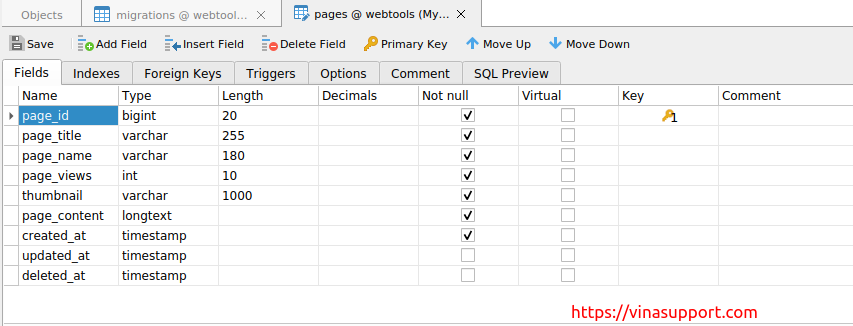
Nếu quá trình migrate thành công nó sẽ tạo trong CSDL của chúng ta 1 bảng như thiết kế ban đầu.

Bạn có thể kiếm tra trạng thái các bảng đã migrate bằng lệnh sau:
php artisan migrate:status

3. Rollback lại Laravel Migrate
Bạn có thể rollback lại trạng thái trước khi migrate bằng lệnh migrate rollback
php artisan migrate:rollback
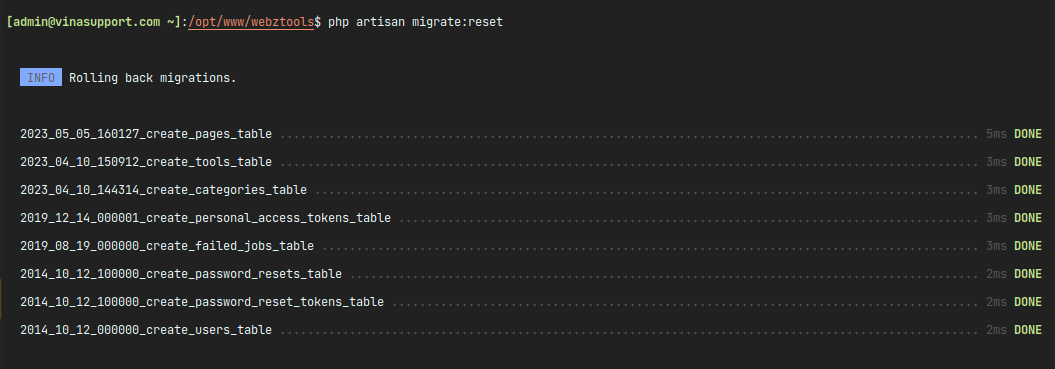
Trường hợp bạn muốn rollback lại toàn bộ database thì
php artisan migrate:reset

4. Xóa toàn bộ Laravel Migration
Chú ý lệnh dưới đây sẽ xóa toàn bộ bảng được tạo ra bằng Laravel Migrate và các file migration, nên hãy chắc chắn trước là bạn muốn thực hiện điều này.
php artisan migrate:fresh
php artisan migrate:fresh --seed
Với Laravel Migration, bạn có thể làm chủ hoàn toàn thiết kế, thay đổi database bằng các dòng code PHP.
Nguồn: vinasupport.com